
Awning – Repair or Replace?
December 15, 2020
How to Choose Patio Awnings?
March 1, 2021How To Install Awning For Rooftop Garden?

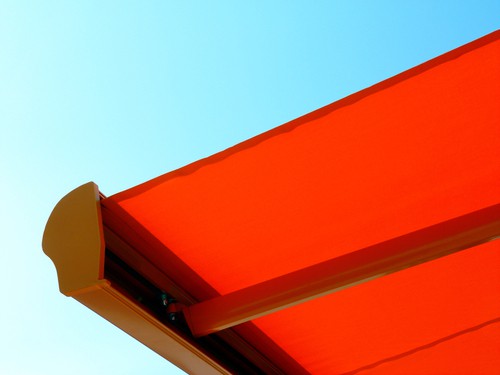
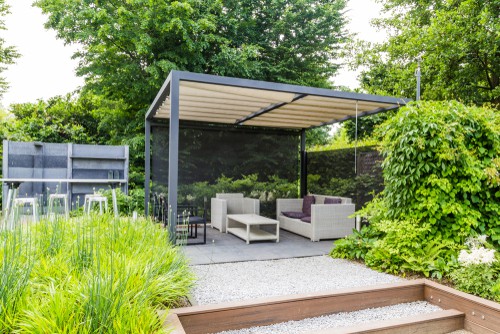
Want to enjoy some shade in your rooftop garden without having to build any structure? How To Install Awning For Rooftop Garden? Awnings are one of the best ways to have some shade in your backyard, porch or rooftop without having to construct any kind of structure.
It is not only cost-effective but also looks very stylish. You can easily get awnings in a variety of shapes, sizes and colors. There are retractable, portable and even electric awnings available in the market that you can buy and install.
And if you think installing awnings is a tough task to do, you’re probably wrong. In this article, we are sharing an easy guide for installing an awning for your rooftop garden. So, without any further ado, let’s get started!
Easy Steps To Install Awning For Rooftop Garden
1.First and foremost, mark the place where you need to hang the awning over.
It can be a wall, a window or a door. Just mark the centre and measure the length. Use a felt tip pen or a marker for this purpose and draw a line.
2. Mark the center of your awning.

For this, take the full measurements of awning along its length and then divide it by 2 to get the center. Mark it using a felt tip marker. Suppose, if your awning is 6 feet, mark at 3 feet.
3. Pick the awning and draw a line to the surface you want to install.
You’ll need to take help from a person for positioning the awning perfectly. Draw a straight line underneath the awning and make sure it falls over the center you’ve marked previously. If you’re installing it above a door, make sure the length of brackets matches the width of the awning.
4. Now, mark the points on a wall where brackets will be mounted.

Generally, awning comes with 2-3 brackets that you need to mount on the wall. Take the straight line you’ve drawn as a guide and mark the points where you need to mount the brackets using a pencil. Make sure the brackets are lining accurately before drilling the holes.
5. Time to install the hardware.

Carefully drill the holes on the wall in order to mount the brackets. We recommend using a 12 or 14 mm drill for this purpose. If your rooftop has brick walls, use a masonry drill bit for precise drilling.
6. Now, simply install the brackets by fixing the screws using a drill or a screwdriver.

For this, hold the brackets in-line with the holes and tighten the screws that came along with the awning using a screwdriver or a drill. Make sure the brackets are mounted straight. A good idea is to check the instruction manual that comes along the awning for better installation.
7. Now, lift the awning in level to the brackets with the help of a person and carefully slide the awning into the brackets.

Make sure it fits snugly and straight. Avoid sticking the end of the awning to the sides. If your awning doesn’t fit into the brackets, then know that your brackets are not mounted straight and you need to level them again.
8. Tighten the awning into the brackets using screws and bolts that come along it.

Depending upon the type and brand of your awning, you will get the fastening attachment for fixing it into the brackets. In this way, the awning bar will be held in place and will not wiggle around.
9. Finally, extend the awning with its handle and spread it outwards for having shade on the rooftop.

And voila! You can enjoy shade on your rooftop without building any structure. The good quality awnings last for good 8 to 10 years and even if they get damaged by sun, you can easily get them replaced. It is easy and cost-effective.
Tips To Follow :
- Read the instruction manual of the awning as well the tools before using them.
- Take all the necessary safety precautions while using electric tools and equipment.
- Take help from a person for a better installation.
- Invest in a good quality awning if you want to make it last for years.
That’s all for now. We hope it helps.


